
Now, I know that bakers twine or embroidery floss isn't really "that" expensive..but this concept evolved because I decided I needed the twine after I had already adhered my paper. So this is a tutorial combined with a Frugal Friday!!
So usually you would just wrap the twine around and around and around, right... so let's say you're wrapping a 6 inch photo (like this one)...

So, let's move on to my idea...
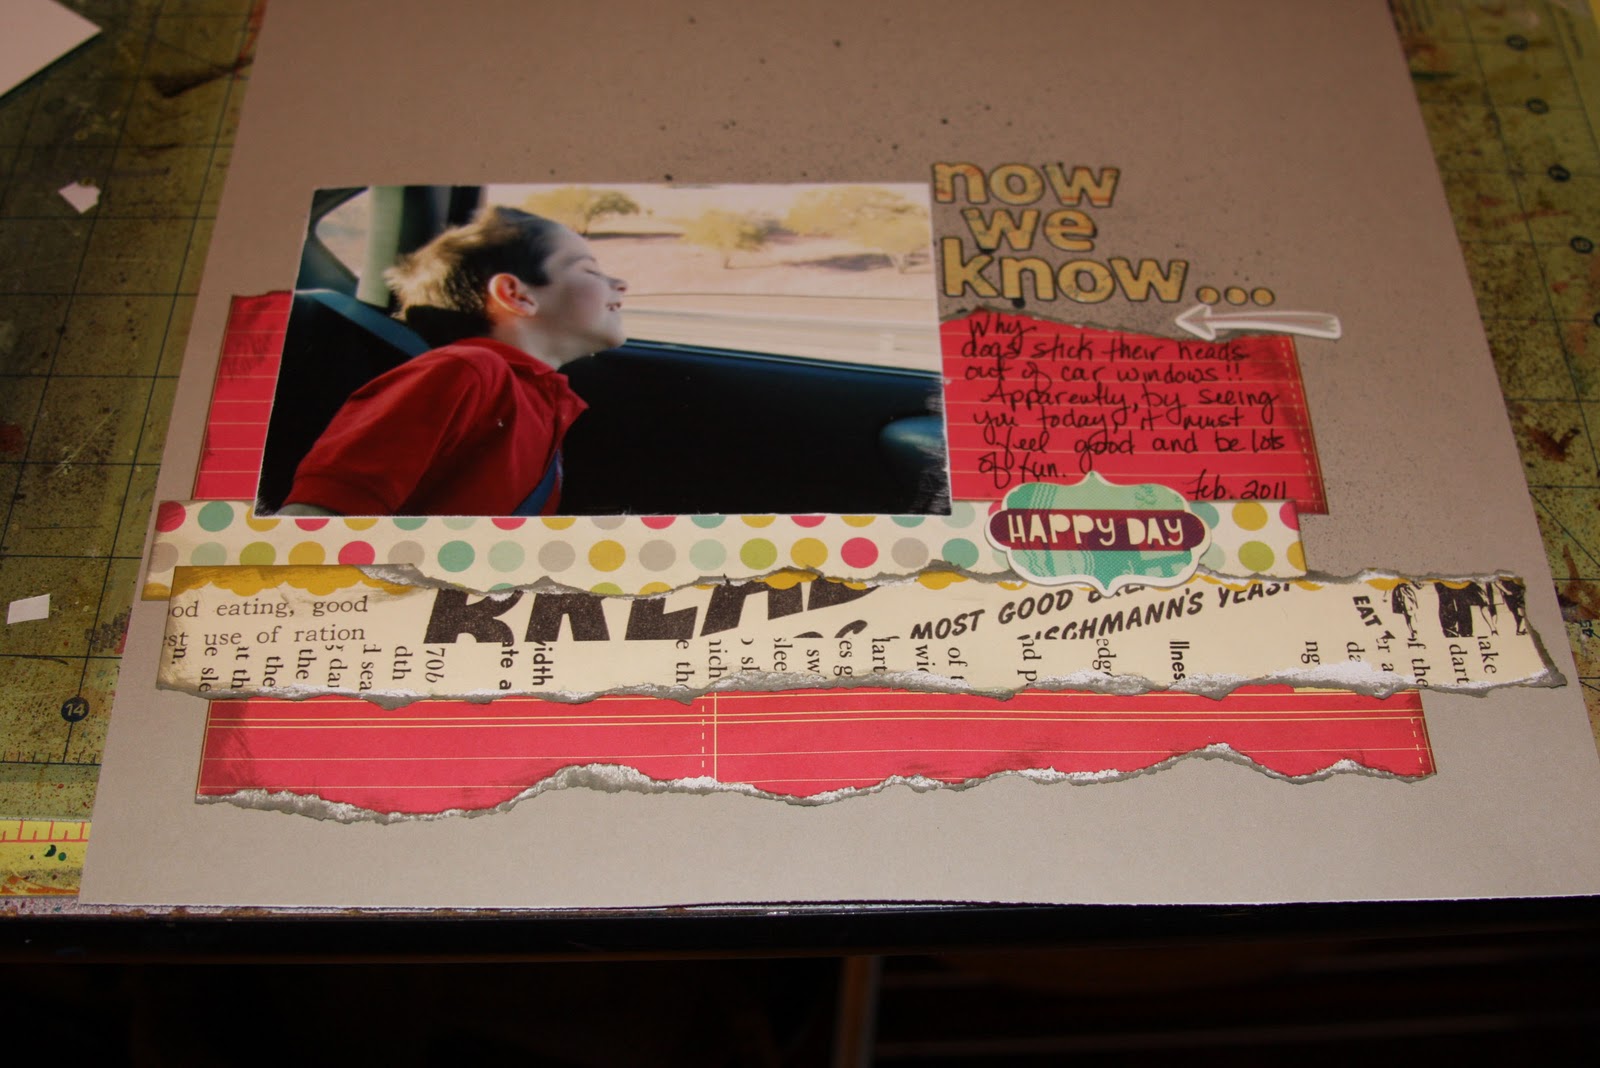
So here's my layout already adhered... and I decided I needed a "wrap of twine" around the bottom red patterned paper, but I don't want to rip up my layout....
So... I lift the left edge - (let's call it End A) of the paper poke a hole under the paper..

Then I feed my twine (aqua colored) through my hole and scotch tape it onto the backside (so there is no knots)...

Then I wrap the twine to the other end (right end - End B) of the patterned paper, poke hole at that end and feed it through to the back... (Yes, I'm using a needle)

Now here is where the trick comes in... on the back side, instead of wrapping all the way back to the first side (left end - A) again, I just poke another hole in the the same side I just came down on (End B) and go back up there...scotch tape the back side to hold it firm & prevent tearing. (this eliminates the wasted twine on the back side)...

Wrap twine back to left end (end A), poke hole, feed to back of paper, poke another hole & come back up (scotch tape)...again eliminating the wasted wrap on the backside.
So this is what the backside of my paper looks like:

And the front side:

So the paper was about 10 inches long... and I used 10 inches x3 on the top... 30 inches and maybe 2 inches on the back. so 32 inches. If I had wrapped it all the way around front, back, front, back..I'd have used about 60 inches of twine....
I also attached a button just by poking two holes and feeding twine from the backside through hole 1, then the button and back through the second hole. -- Scotch tape again to avoid knots...
here is that additional look on the backside:

And here is the button/wrap from the front:
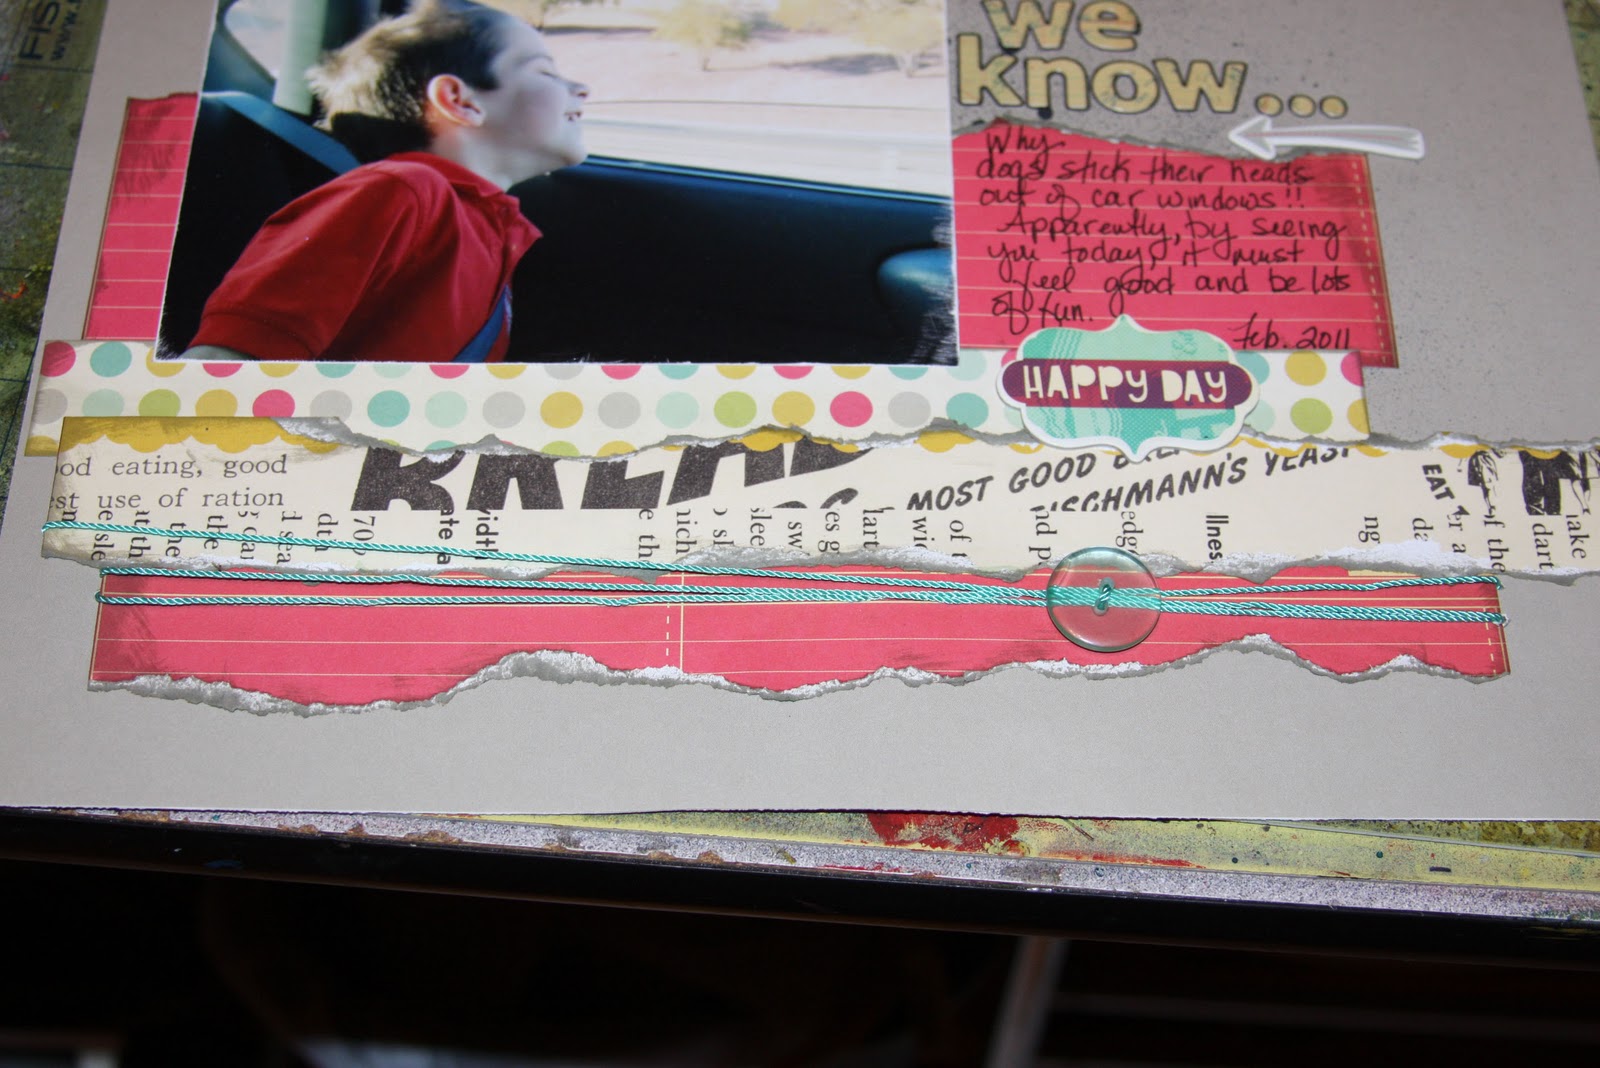
Then I also added a few more pieces of patterned paper to the lower edge and this is my completed layout:

And a closeup of the finished layout:


